When we post an image in an article, we need to describe our photo, in words. We must populate a number of fields for search engine optimisation, viewer accessibility and our own convenience
Despite the promised / threatened power of Artificial Intelligence, computers can’t see images. When we conduct a search in Google (other search engines are available) for, say, a Ford Corsair, Google does not look at photos of cars and spot the ones containing Ford Corsairs.
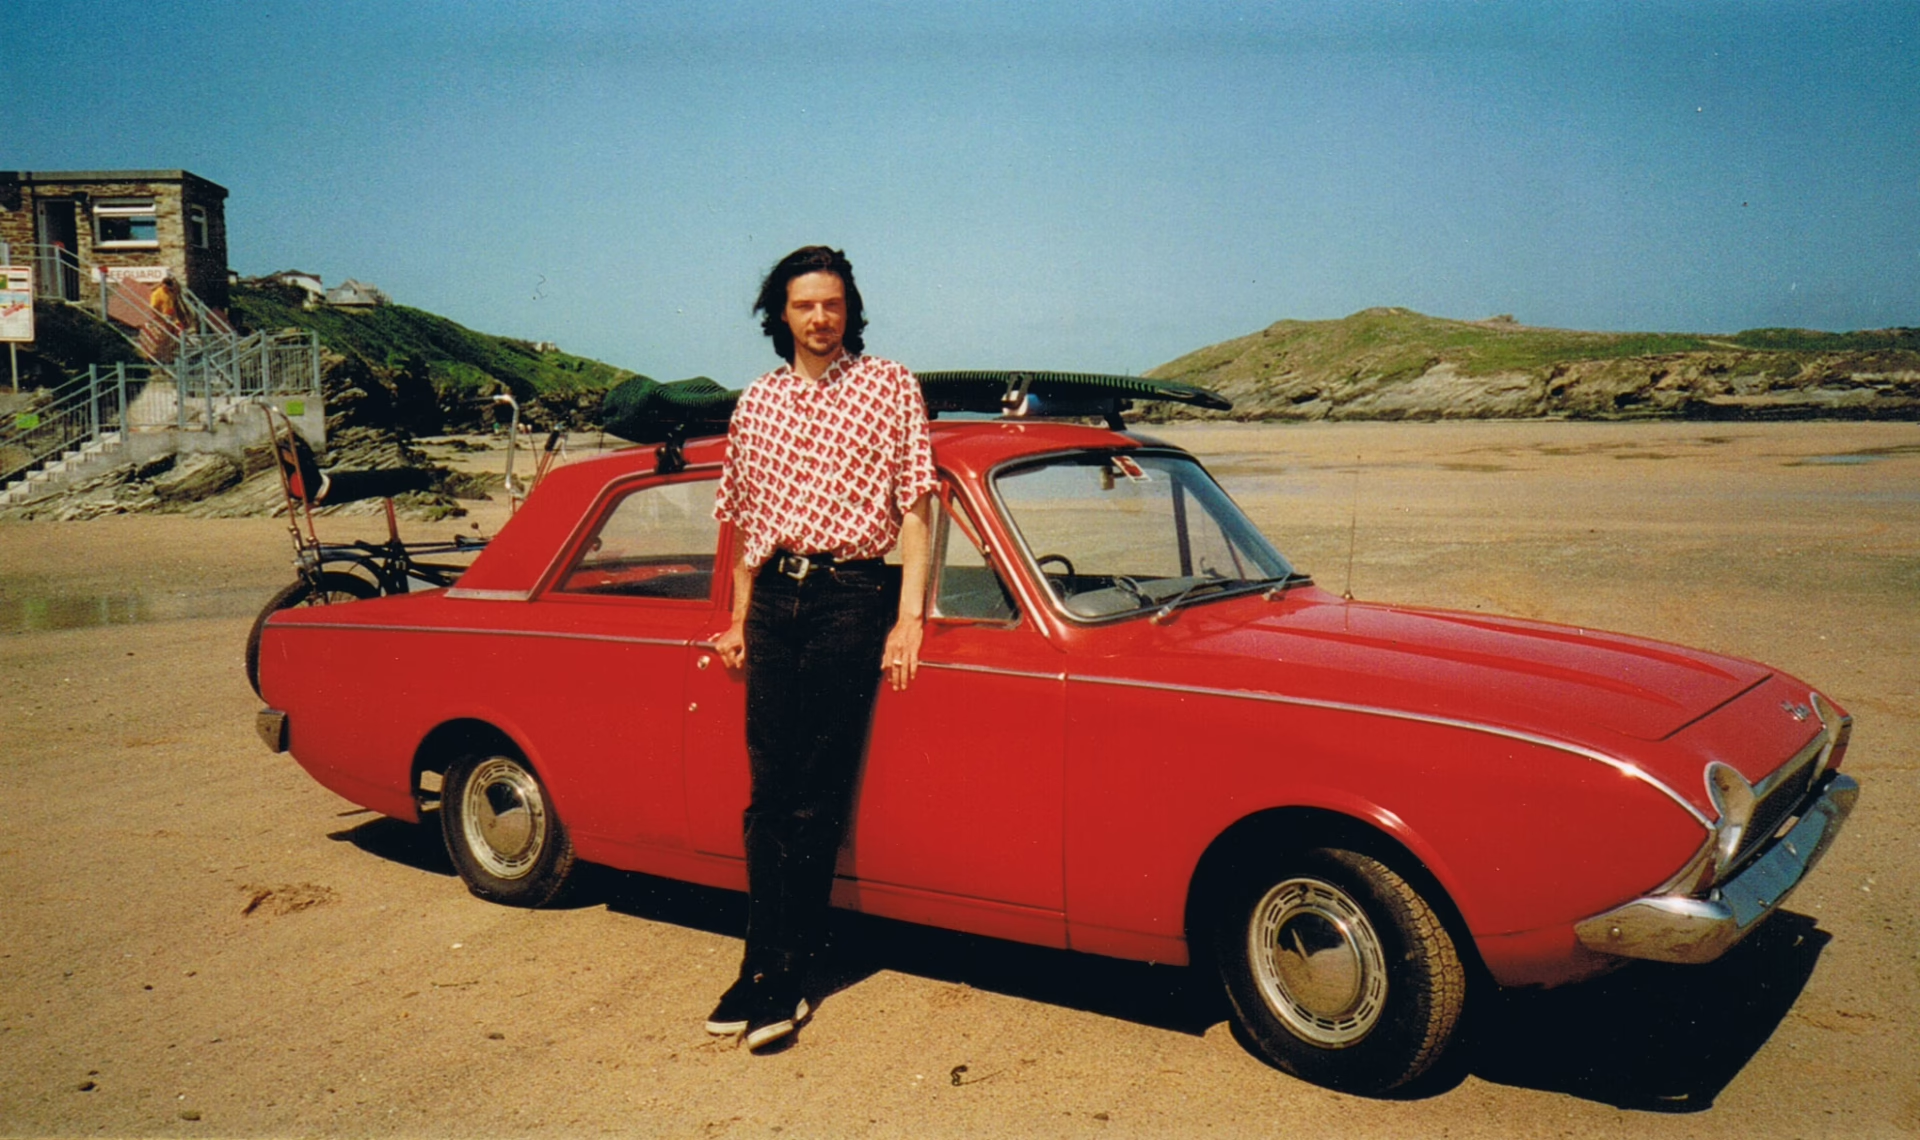
There are four metadata fields for each image we upload and we should populate them all for best search engine optimisation (SEO) and accessibility. Write a caption that describes the photo for the benefit of a person who cannot see it. This description is what screen readers relay to visually impaired visitors, and what Google uses to index the content of the image.
Start in the library
I recommend that you name the photos accompanying your article with either the full caption or a précis of it. Immediately, we are attaching useful metadata to our image before we’ve even uploaded it. Then upload all of your images in the media library.

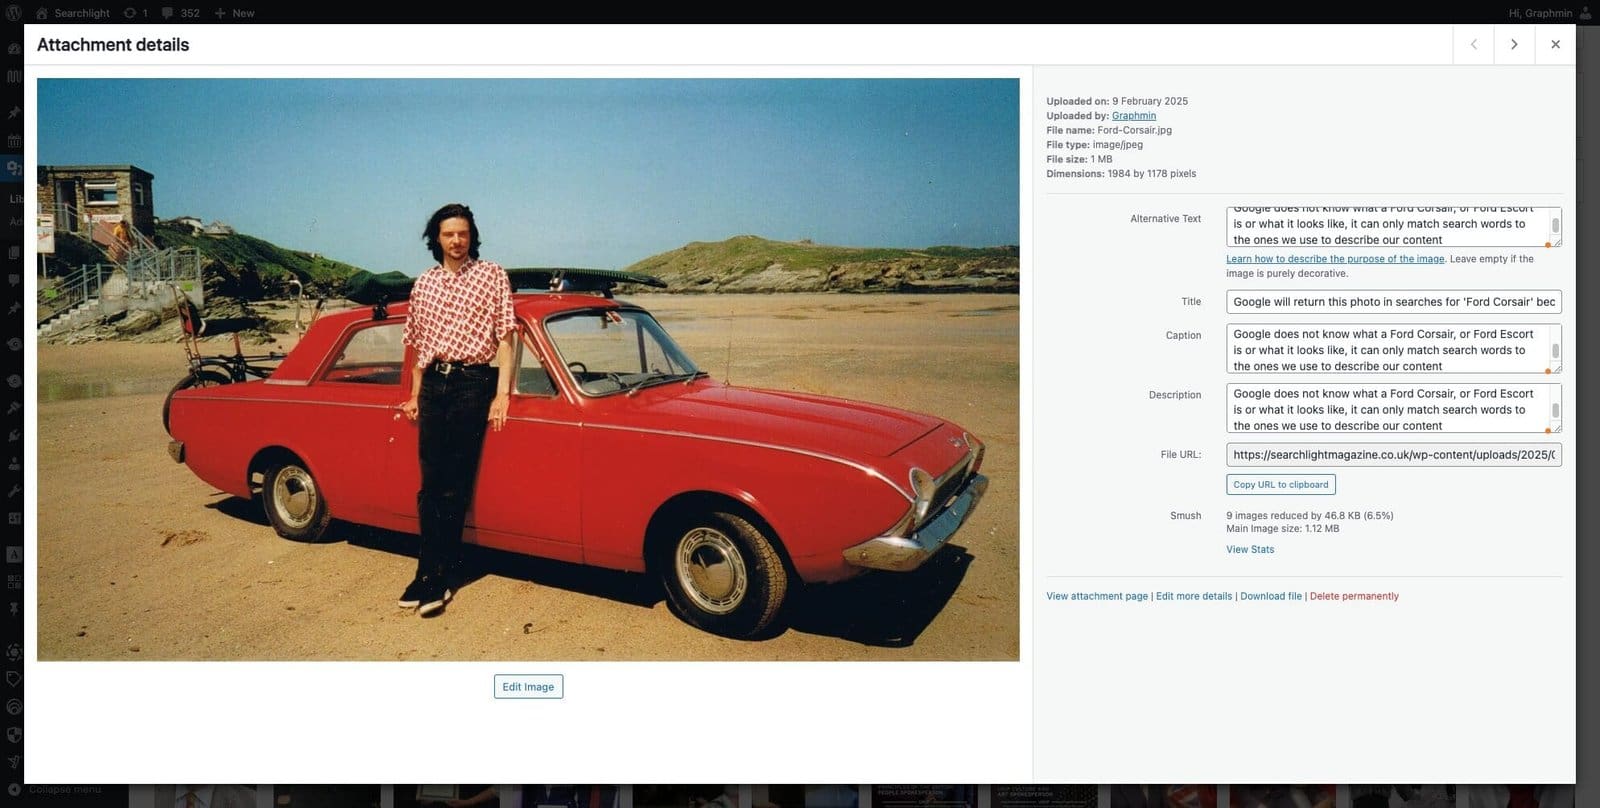
I advise loading your images in the media library directly, before posting your article, because it is a more reliable way of adding photos. WordPress can be glitchy when uploading photos directly into a post.
Develop a habit of always populating all of the your image metadata fields
Also, it is good practice because you will develop a habit of always populating all of your image metadata fields. If you upload your images directly to your article, you have to remember to go to the media library afterwards to put in all the metadata.
Placing images in posts
Place the image in your article from the media library. By default, WordPress places images with alignment ‘none’ which is not very useful. If your image is large enough and largely landscape, choose ‘centre’ and in the block toolbar on the right, select Block > Resolution > Full Size.
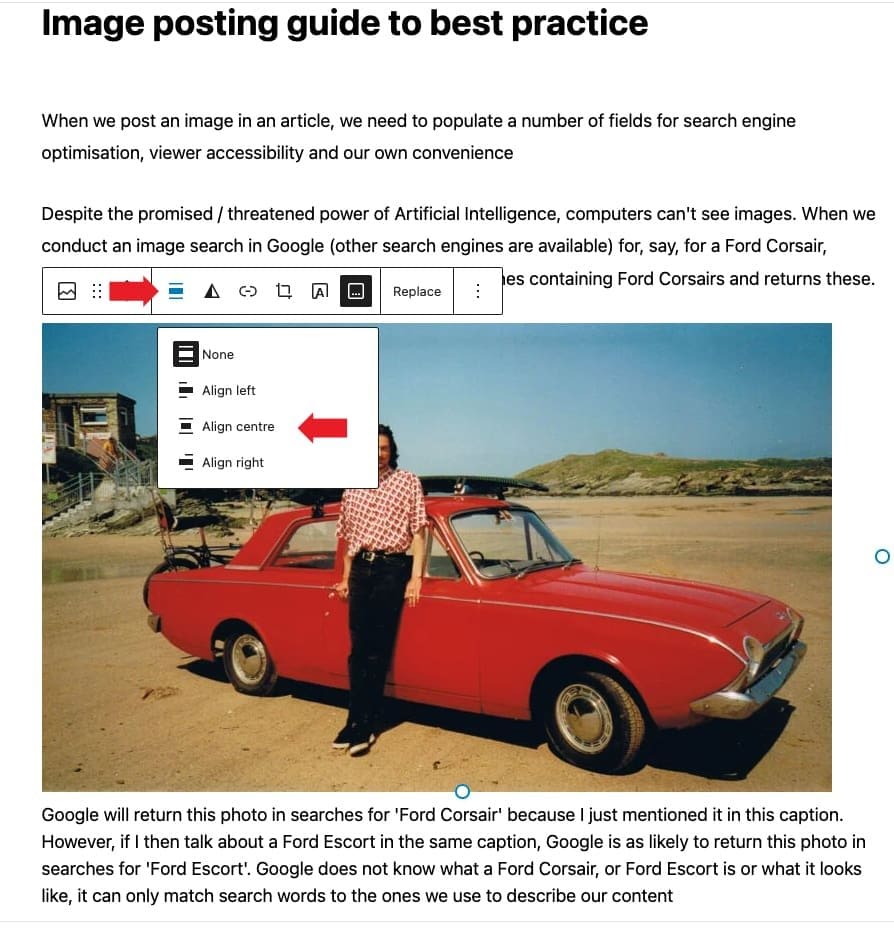
A combination of WordPress native functions and the programming in this website design takes care of sizing images for different screen sizes. Load the biggest version you have of your image when you place it in the Media library, and when you place it in an article, set the image’s block settings of Resolution to ‘Full Size’.

Notice that these images have a zoom effect on mouseover. This effect indicates the images can be opened for full-screen viewing. By default, WordPress places images with no link. Go to the link button in the image’s block toolbar to connect the image to its image file. This enables visitors to click-on and view the image as large as possible on their device.

Image justification and text wrap
Earlier in this article we discussed changing the default setting of an image’s alignment from ‘none’ to ‘centre’. This won’t produce much of an obvious change, if any, in the look of the image in your post but it is important.


Posting images without alignment is a bit scrapbook. For professional magazine layout in our articles, we need to set the alignment of our images.
For the most part, stick with centre alignment. If the image is big (wide) enough, it will fill the width of the article and this will look tidy.
If you have only a small image, one that won’t fill the width of the article, then we can use the ‘Left’ and ‘Right’ alignment settings. This wraps the text around the image for a professional magazine layout look.
Automatic image sizing
Thanks to some nifty programming in this design, you don’t need to do any setting of the image size. Load and place the largest image you have. When the image is set to left or right alignment, it is automatically displayed at a width of 50% of the available page width.
A breakpoint setting displays the image at full width on smaller screens.


We can set photos to left alignment, but this is not idea for neurodiverse visitors to your website. Indeed, for all viewers, text is easier to read if the left margin is kept in the same place.
To this end, use right alignment for images you want to wrap the article around.
Using image metadata in our Media Library
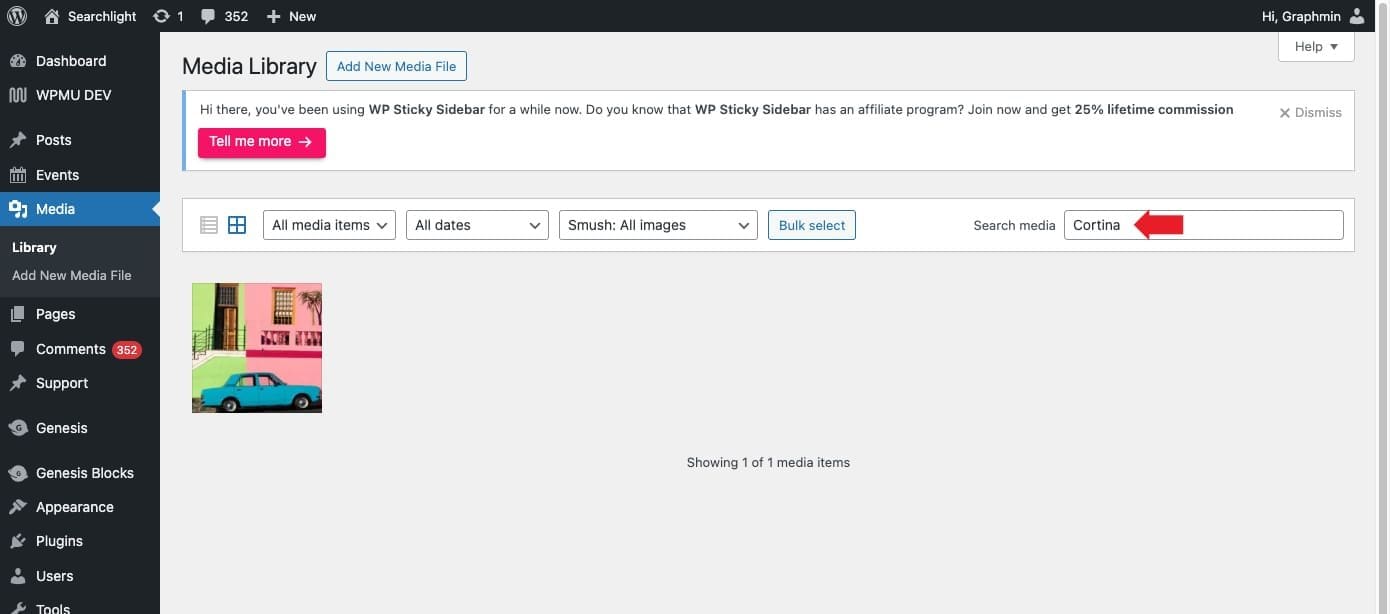
Let’s say you’ve got a photo of a Ford Cortina in Cape Town, South Africa and you want to reuse it in a new post. You’ve got hundreds of posts in your archive and you can’t remember which one you used it in. Similarly, you have hundreds of photos in your Media Library.
How do you track down this image? Because, when you uploaded this image, you added a caption detailing the information needed to identify it in a search of your Media Library.
But if we reuse a photo, it will have the same caption as we put in the metadata when we uploaded it in the first instance. In the case of the Ford Corsair photo, it comes with the caption about Google and metadata and all that. But we can use the photo from our Media Library but put a different caption on it.
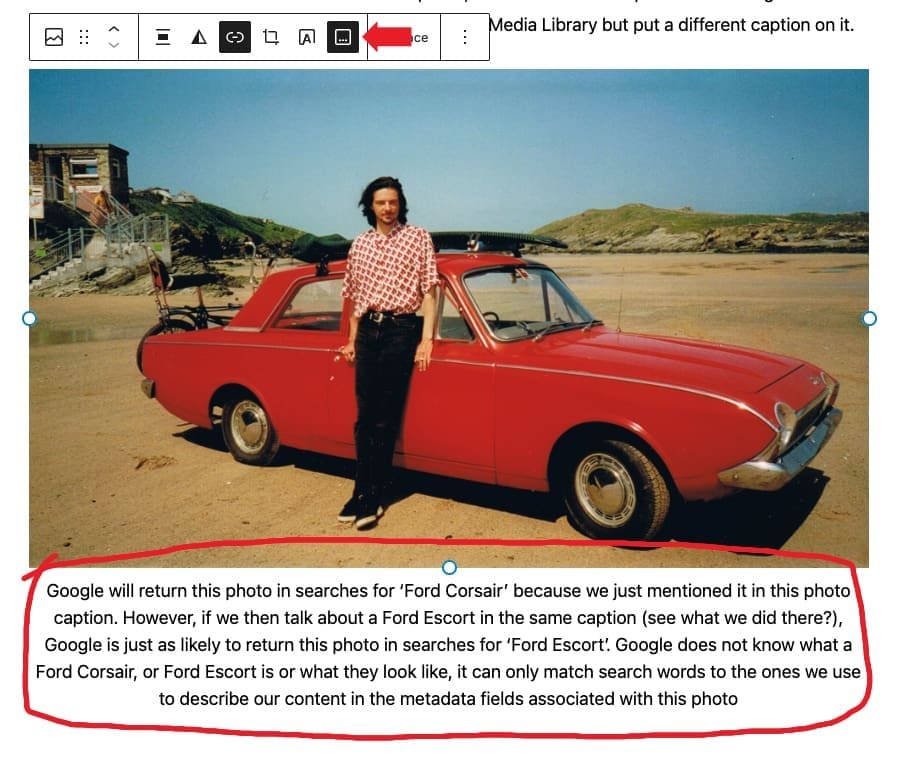
Simply type over the caption in your post edit to put the relevant information for this usage of the image.
Studies of website activity analytics confirms the obvious, images greatly improve visitor engagement. They are worth the effort
It is very easy to upload a photo straight into a post and not bother with all of this palaver but it is the attention to detail that separates the professional from the amateur.
We need Google to know all about the content of the Searchlight site to get the best returns in search results.